After creating a series, the next step will be to add episodes.
Step 1: Accessing the Manage Seasons/Episodes Section
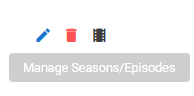
To access the manage seasons/episodes section, click on the film icon to the right of the specific series.
Step 2: Season Management
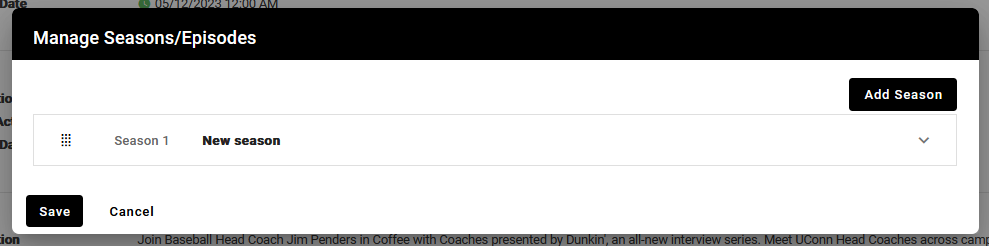
After clicking the film icon, the first screen displays the first season of the series. From here you can either click on the season to add episodes, edit the first season’s info or add new seasons.
Step 3: Adding Episodes
Clicking on the season will expand the section to manage and add new episodes.
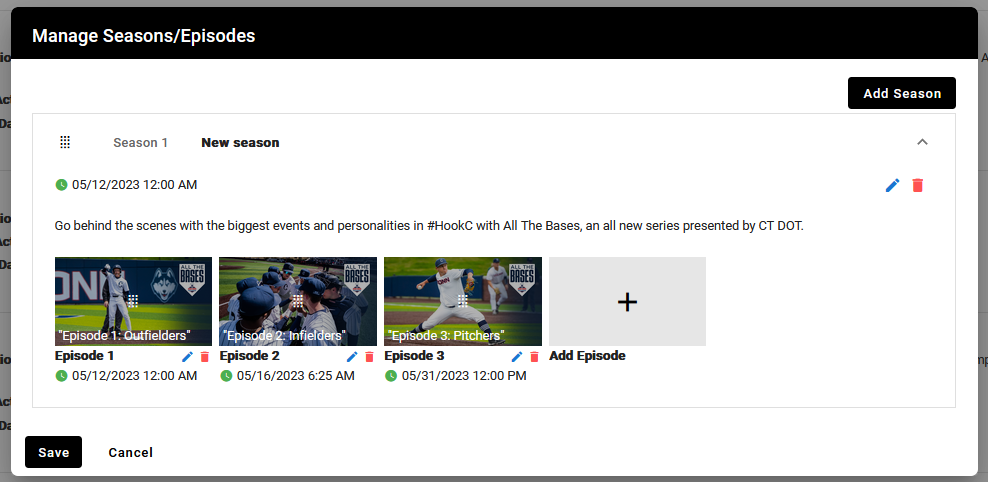
The edit (pencil icon) to the right of the page is where you can edit the season’s info.
The edit (pencil icon) under each episode allows you to edit info about that specific episode.
To add a new episode, click on the gray box to move into this next screen.
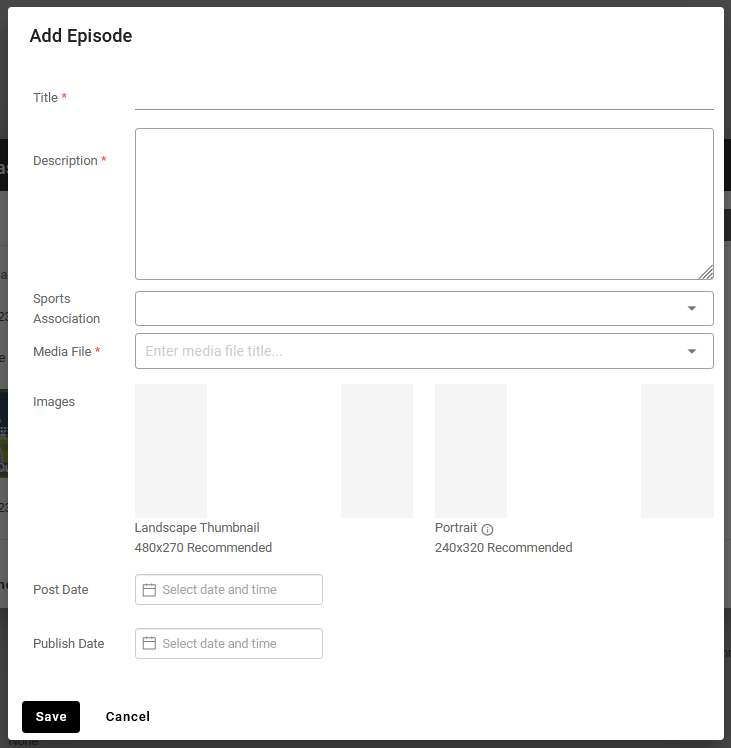
Title: Enter the title of the episode.
Description: The description will appear on featured episode panels and in the overall series page.
Sports Association: The list will only show sports the series was associated with, if one was chosen, be sure to select it here as well.
Media File: Search for the episode by the title name of the video.
Images: Each episode requires two image layouts be uploaded.
Landscape: Sized at 480x720px will be used on Series A panel and on the series home page.
Portrait: Sized at 240x320px.
Post Date: The date that will display for the video.
Publish Date: The date the episode goes live. This can be both post and predated.
When finished, be sure to click the save button.
Was this article helpful?
That’s Great!
Thank you for your feedback
Sorry! We couldn't be helpful
Thank you for your feedback
Feedback sent
We appreciate your effort and will try to fix the article